

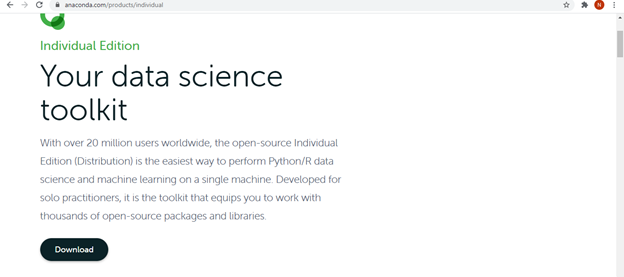
Anaconda is the origin, of Python data science. A development that unites a large number of data science experts, information-driven ventures, and the open-source network. With over 20 million users worldwide, the open-source, Individual Edition (Distribution) is the simplest method to perform Python/R information science and AI on a solitary machine. Also includes a toolkit that outfits you to work with great, multiple open-source bundles and libraries. So here is an ultimate guide to installing Anaconda. Here is a complete guide on how to install Anaconda for windows.
Here is a step by step guide to install ANACONDA on WINDOWS.
- Google – Anaconda or visit https://www.anaconda.com/

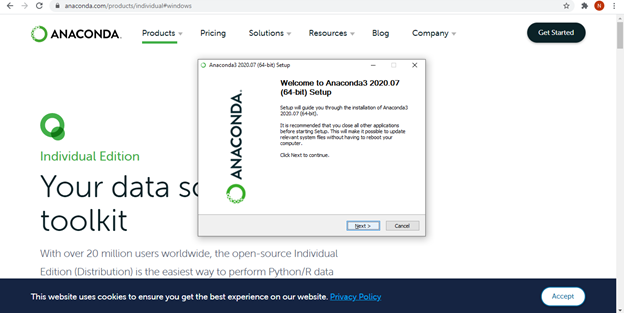
- Open the website: Click on get started. Shown in the image for reference.

- Get started will re-direct to à the next page à Click on : “Install Anaconda Individual Edition”

- Next step is to click on the “Download” button.
- Then you can see these multiple OS options (shown below ), where you can select any one of the ANACONDA Installers.
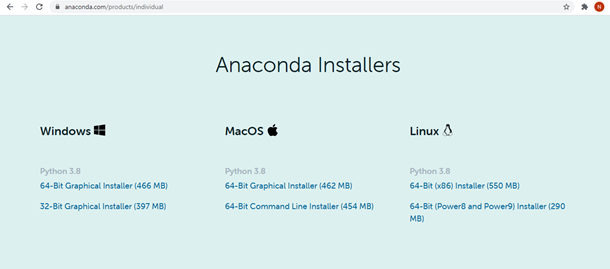
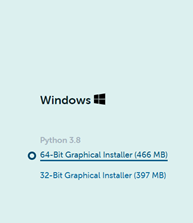
- Here we have selected for à WINDOWS : 64-bits.
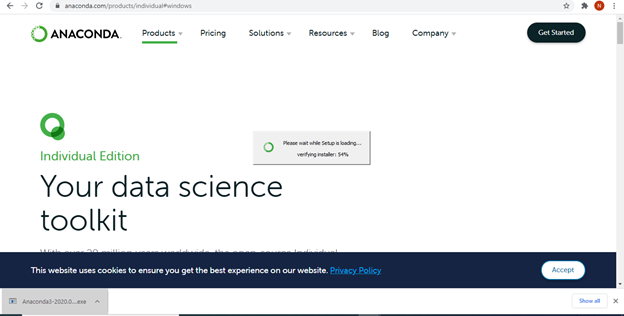
- It will automatically, start installing.

- Once completed—> click on the .exe file one the bottom left.
- It will further open up the –> Setup file –> Click on Start.
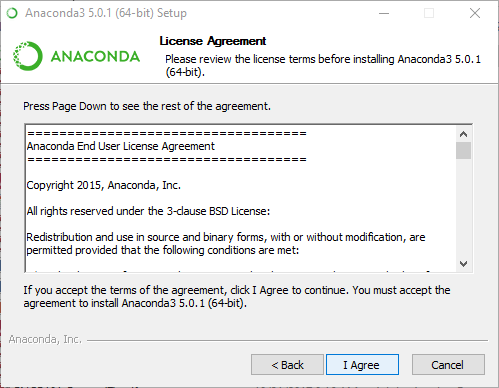
- Next click on –> I AGREE, for License Agreement
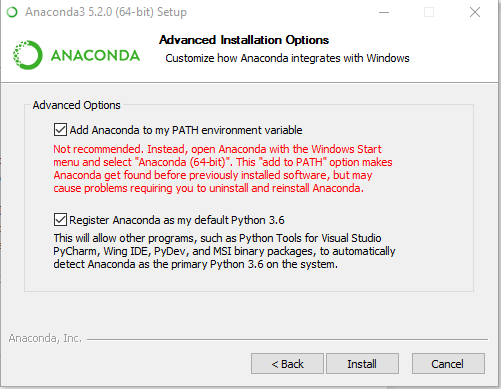
- You can make change for the setup accordingly, select one from the option. Continue with the option of –> Advanced Installation Options
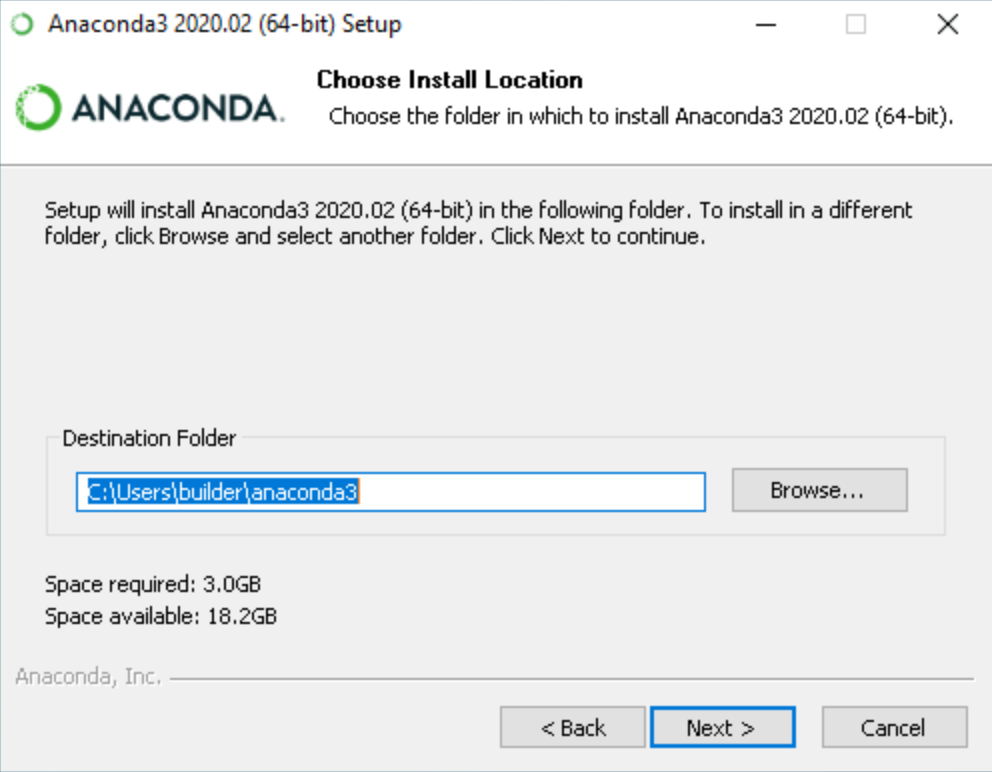
- Add Destination, or you can browse
- This will start the Installation..
- Once done, click on–> NEXT

- Completing Setup –> click on Finish

- You can use these Option “Get started with Individual” or “Commercial Editor” which ever you have installed. For further tutorials and use.

Also read News: https://www.thetechinfinite.com/2020/10/29/trumps-official-campaign-website-hacked-and-defaced/


